377Uploads
165k+Views
10k+Downloads
Cross-curricular topics

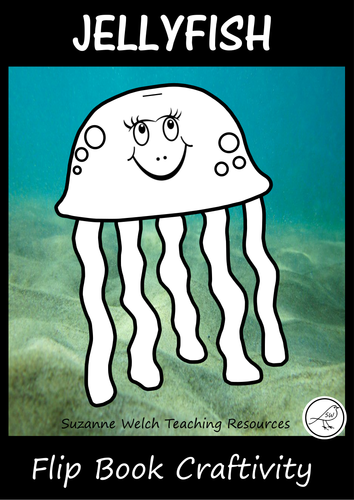
Jellyfish template - lift the flap presentation
Jellyfish Template that can be used to make a flip book. A fun and creative task that your students will love!
Use as many 'body' templates as you wish, then staple them together on top of the 'master' jellyfish.
Ideas for use: writing a report (diet, appearance, predators, etc), writing words that begin with J, presenting jellyfish facts, using as part of an 'under the sea' unit, etc...
© Suzanne Welch Teaching Resources

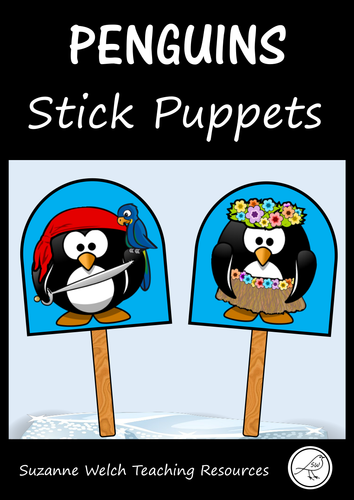
Stick Puppets - PENGUINS - 30 coloured plus a black and white template
Super-fun stick puppets! Simply laminate and attach a craft stick.
Great for oral language development, co-operative learning, topic based study (eg antarctica), drama, performance skills, engaging reluctant learners, etc …
Can also be used as a writing prompt (eg script writing, narrative writing, descriptive writing …)
This set contains 30 coloured puppets (29 with costumes/props and 1 without).
Also included is a template for your students to create their own penguin stick puppet.
Your students will LOVE making up performances with these colourful stick puppets.
© Suzanne Welch, 2016
Visit my store for more stick puppets and other great classroom resources.
Your feedback is appreciated. Thank you.

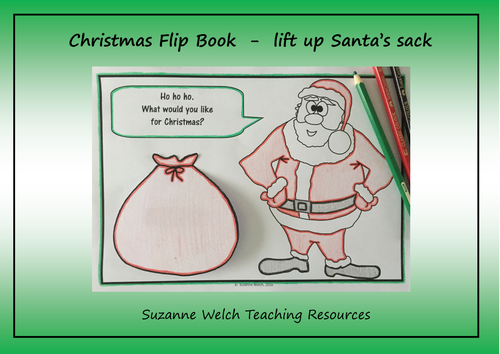
Christmas flip book - Santa and his sack
Lift Santa's sack and draw or write what you would like for Christmas! Use as many pages as you wish (great when students all work at different speeds).
This resource contains 4 variations of the template ....
* Santa and sack
* Santa and sack with empty speech bubble
* Santa and sack with speech bubble (Ho ho ho. What would you like for Christmas?)
* Santa and sack with a heading - Merry Christmas
You get ...
* 4 different templates
* Sack template - plain
* Sack template - top (has a tie)
A great Christmas craft during the festive season. Could also be used for other writing activities. For example, publishing a Christmas poem.
© Suzanne Welch Teaching Resources

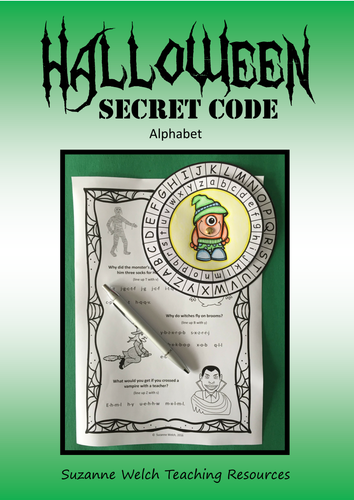
Halloween Secret Message Code Wheel - (Alphabet - upper and lower case)
Let your students become a ‘Secret Agent’ or a ‘Spy’ for the day with this fun Halloween resource. They will thank you for such a cool lesson!
Here’s what your students can do:
1. Make a secret code wheel.
2. Use the code wheel to decipher some Halloween jokes.
3. Write a secret message on one of the Halloween themed writing templates.
Included:
♦ 9 fun wheel templates
♦ 1 page of Halloween jokes to decipher (answers also included)
♦ 3 different Halloween themed templates for writing a secret message on
♦ Teacher notes / instructions
Pictures on inner wheel:
Cobweb, ghost, ghost holding a candy bag, pumpkin, monster (cute), zombie/monster twins, witch’s hat (draw a head & face under it), candy, skull and crossbones.
This resource:
This resource is for a secret code wheel that uses the Alphabet – capital and lower case letters. Please see below for my other types of code wheels.
Other Halloween Secret Code resources:
Halloween Secret Message Code Wheel – Alphabet and symbols
Halloween Secret Message Code Wheel – Alphabet and number
Or save money and purchase all 3 resources as a bundle:
Halloween Secret Message Code Wheel - Bundle
© Suzanne Welch Teaching Resources

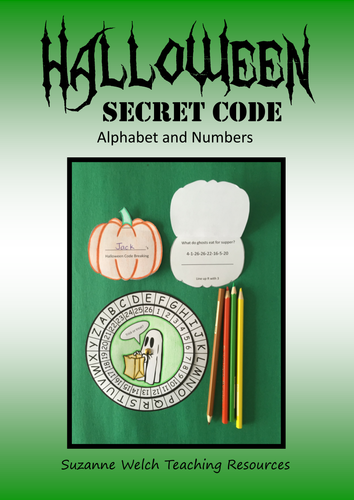
Halloween Secret Message Code Wheel - (Alphabet and numbers)
Let your students become a ‘Secret Agent’ or a ‘Spy’ for the day with this fun Halloween resource. They will thank you for such a cool lesson!
Here’s what you can do:
1. Make a secret code wheel.
2. Use the code wheel to decipher some Halloween jokes.
3. Make a pumpkin booklet from the Halloween jokes.
4. Write your own secret message on one of the Halloween themed writing templates.
Included:
♦ 9 fun wheel templates
♦ 5 Halloween jokes to decipher. Displayed in a pumpkin template (make a booklet after)
♦ 3 different Halloween themed templates for writing a secret message on
♦ Teacher notes / instructions
Pictures on inner wheel:
Cobweb, ghost, ghost holding a candy bag, pumpkin, monster (cute), zombie/monster twins, witch’s hat (draw a head & face under it), candy, skull and crossbones.
This resource:
This resource is for a secret code wheel that uses the alphabet on the outer wheel and numbers (1-26) on the inner wheel. Please see below for my other types of code wheels.
Other Halloween Secret Code resources:
Halloween Secret Message Code Wheel – Alphabet and symbols
Halloween Secret Message Code Wheel – Alphabet (lower and upper case)
Or save money and purchase all 3 resources as a bundle:
Halloween Secret Message Code Wheel - Bundle
© Suzanne Welch Teaching Resources

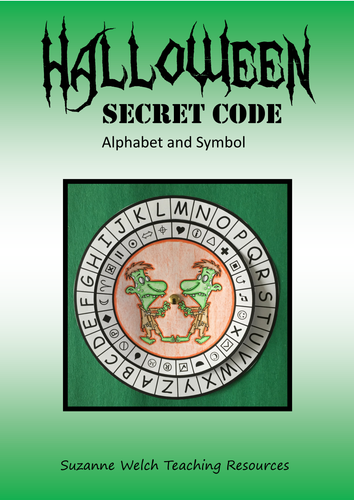
Halloween Secret Message Code Wheel - (Alphabet and symbols)
Let your students become a ‘Secret Agent’ or a ‘Spy’ for the day with this fun Halloween resource. They will thank you for such a cool lesson!
Here’s what you can do:
1. Make a secret code wheel.
2. Use the code wheel to decipher a secret text from a witch's spell book.
3. Write your own secret message on one of the Halloween themed writing templates.
Included:
♦ 9 fun wheel templates
♦ Secret text from a witch's spell book.
♦ 3 different Halloween themed templates for writing a secret message on
♦ Teacher notes / instructions
Pictures on inner wheel:
Cobweb, ghost, ghost holding a candy bag, pumpkin, monster (cute), zombie/monster twins, witch’s hat (draw a head & face under it), candy, skull and crossbones.
This resource:
This resource is for a secret code wheel that uses the alphabet on the outer wheel and symbols on the inner wheel. Please see below for my other types of code wheels.
Other Halloween Secret Code resources:
Halloween Secret Message Code Wheel – Alphabet (lower and upper case)
Halloween Secret Message Code Wheel – Alphabet and number
Or save money and purchase all 3 resources as a bundle:
Halloween Secret Message Code Wheel - Bundle
© Suzanne Welch Teaching Resources

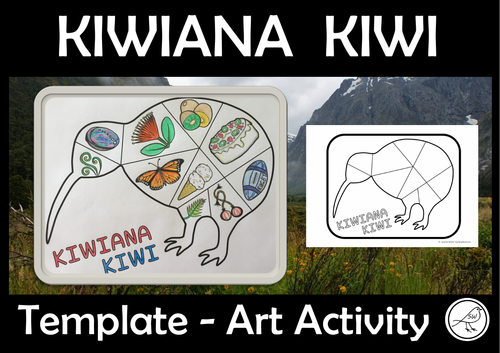
Kiwiana Kiwi - Art Activity
Draw images of Kiwiana / New Zealand in the sections of the kiwi.
Included: one blank template.
Designed on A4 size paper.
**********************************************************************
© Suzanne Welch Teaching Resources

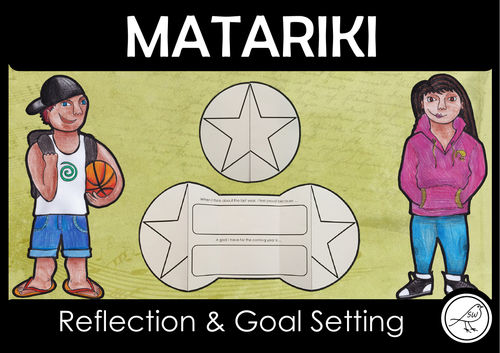
Matariki – Reflection and Goal Setting Foldable
Celebrate the Māori New Year with this fun foldable.
Matariki is a time to reflect on the year that has passed, and to set new goals for the year ahead.
Colour the star and the background. Write in the middle piece. Cut around the outside and make 4 folds.
There are 6 different options for the reflection / goal setting piece in the middle. The wording is listed below:
Option 1:
When I think about the last year, I feel proud because …
A goal I have for the coming year is ...
Option 2:
A goal I have for the coming year is ...
Something I can do to help me achieve this is ...
Option 3:
Three goals I have for the coming year are ...
Option 4:
This is a picture of my goal.
Option 5:
Words that describe the year that has just passed:
Option 6:
The best thing about the year that has just passed was:
Approximately 12 cm in diameter when folded.
Designed on A4 size paper.
**********************************************************************
© Suzanne Welch Teaching Resources

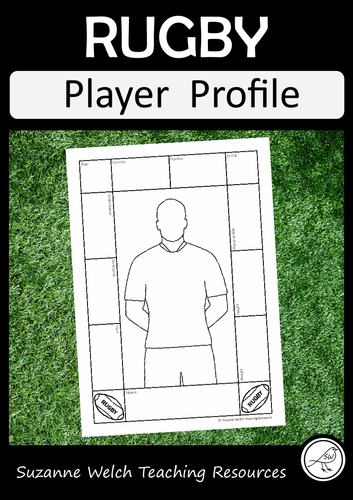
Rugby Player Profile Activity Sheet
A fun activity when studying sport or a big event such as the Rugby World Cup.
**
WHAT TO DO:**
Research information about a rugby player and record it in the boxes around the border.
Add hair and facial features to the body outline.
Colour the uniform (as it currently is, or design a new one).
4 DIFFERENT TEMPLATES:
Shirt with collar - information titles in boxes around border.
Shirt with collar - blank boxes around border.
Shirt without collar - information titles in boxes around border.
Shirt without collar - blank boxes around border.
The information titles around the border are:
Name
Age
Country
Position
D.O.B
Place of Birth
Height
Weight
Team Name
Nickname
Fact
If you don’t like these titles, just use the template with the blank boxes.
PAPER SIZE:
Designed on A4 size paper. Enlarge to A3 size if you wish.
I consider the body template to be suitable for both male and female rugby players.
© Suzanne Welch Teaching Resources

Poppy Art – Remembrance Day, Memorial Day, Armistice Day, Anzac Day.
A ‘Fun with a Ruler’ art project for your students to complete leading up to Remembrance Day / Memorial Day / Armistice Day / Anzac Day.
This project involves your students ruling straight lines between 2 dots on a template, to create a poppy. Your students could write something in the petals before colouring (eg facts, opinons, a 4 line poem, etc). Display them together to make a 'poppy patchwork quilt'.
Included:
♦ Template – black dots
♦ Template – light grey dots
♦ Example – black/white
♦ Instructions
♦ Teacher notes
Level of Difficulty:
Your students need to be able to use a ruler to draw straight lines between 2 points (the curves are made with straight lines … it’s like magic!). The design looks more complicated than it actually is. Concentration is required, but the actual process is not difficult. A pattern is repeated 8 times.
Instructions:
Simple, clear, easy-to-follow instructions are provided. One instruction per page (image and a sentence). Display the instructions via a data projector if you have access to one. Otherwise print and enlarge them and/or demonstrate on an enlarged template.
Equipment:
You need a ruler and a pen (black works best). Something to colour with (eg coloured pencils, watercolours, felt tip markers, chalk pastels, dye, etc)
Size:
The artwork measures approximately 17cm x 17cm. Designed on A4 size paper.
Keywords: string art, parabolic curves, math, geometry, patterns, war, symbolism, veteran,
© Suzanne Welch Teaching Resources

Poppy Art – ANZAC Day, Remembrance Day, Memorial Day, Armistice Day, etc (Design C)
A super-fun art project for your students when celebrating special days such as:
♦ ANZAC Day
♦ Remembrance Day
♦ Memorial Day
♦ Armistice Day
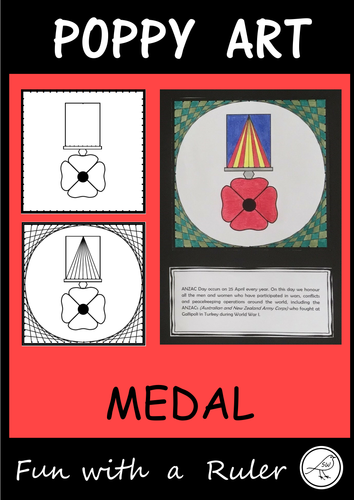
This project involves your students ruling straight lines between 2 dots on a template, to create poppy inspired art work. This is Design C (medal).
Included:
♦ Template
♦ Example – black/white and colour
♦ Instructions
Level of Difficulty:
Your students need to be able to use a ruler to draw straight lines between 2 points (even the curves are made with straight lines … it’s like magic!). The designs look more complicated than they actually are. Concentration is required, but the actual process is not difficult.
Instructions:
Simple, clear, easy-to-follow instructions are provided. One instruction per page (image and a sentence). Display the instructions via a data projector if you have access to one. Otherwise print and enlarge them and/or demonstrate on an enlarged template.
Equipment Needed:
You need a ruler and a pen (black works best). Something to colour with (eg coloured pencils, watercolours, felt tip markers, chalk pastels, dye, etc)
Size:
The artwork measures approximately 17cm x 17cm. Designed on A4 size paper.
This is Design C (medal). Other designs are also available in my store:
Design A - wreath
Design B - cross
Design D - poppy
Keywords: string art, parabolic curves, math, geometry, patterns, war, symbolism, veteran
**********************************************************************
© Suzanne Welch Teaching Resources

Poppy Art – ANZAC Day, Remembrance Day, Memorial Day, Armistice Day, etc (Design B)
A super-fun art project for your students when celebrating special days such as:
♦ ANZAC Day
♦ Remembrance Day
♦ Memorial Day
♦ Armistice Day
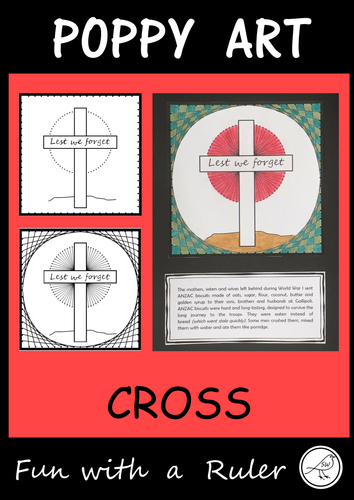
This project involves your students ruling straight lines between 2 dots on a template, to create poppy inspired art work. This is Design B (cross).
Included:
♦ Template
♦ Example – black/white and colour
♦ Instructions
Level of Difficulty:
Your students need to be able to use a ruler to draw straight lines between 2 points (even the curves are made with straight lines … it’s like magic!). The designs look more complicated than they actually are. Concentration is required, but the actual process is not difficult.
Instructions:
Simple, clear, easy-to-follow instructions are provided. One instruction per page (image and a sentence). Display the instructions via a data projector if you have access to one. Otherwise print and enlarge them and/or demonstrate on an enlarged template.
Equipment Needed:
You need a ruler and a pen (black works best). Something to colour with (eg coloured pencils, watercolours, felt tip markers, chalk pastels, dye, etc)
Size:
The artwork measures approximately 17cm x 17cm. Designed on A4 size paper.
Other designs are also available (in my store):
* Design A - wreath
* Design C - medal
* Design D - poppy
© Suzanne Welch Teaching Resources

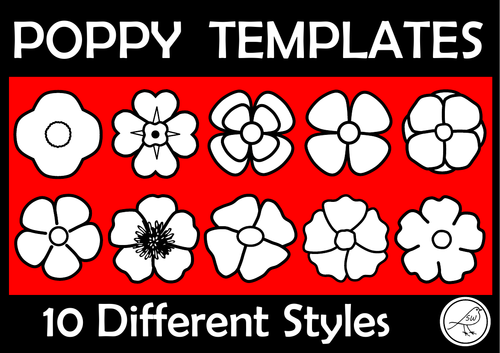
Poppy Templates - Anzac Day, Armistice Day, Remembrance Day, War Remembrance
A handy resource for war remembrance days such as:
♦ Anzac Day
♦ Remembrance Day
♦ Armistice Day
♦ Veterans Day
10 Different Designs:
Great for making wreaths and other craft activities.
Made on A4 size paper.
12 poppies per sheet.
Please note that this resource is for teachers to use in the classroom, not for sellers to make products with. It is a PDF file. It is not clip art. Thanks.
**********************************************************************
© Suzanne Welch Teaching Resources

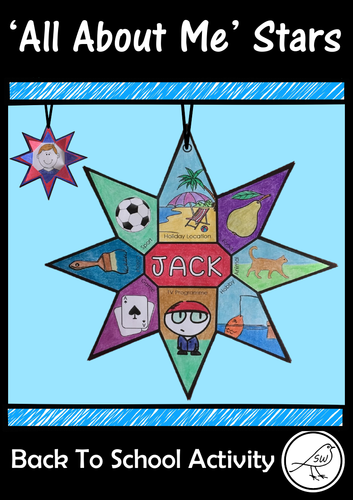
Back To School Activity – All About Me Stars
A fun, creative activity to help you get to know your students at the beginning of the school year.
Make a star and hang your ‘galaxy of learners’ from the ceiling. The front of the star has flaps that open to reveal a picture of the student (draw a self-portrait or glue a photo) and the back shows 8 pictures of your student’s favourite things.
Two Templates:
♦ With headings (see list below)
♦ Blank – add your own ‘favourite’ categories
The 8 Favourite Things:
♦ Holiday location
♦ Food
♦ Animal
♦ Hobby
♦ TV Programme
♦ Game
♦ Colour
♦ Sport
Template with US spelling/vocabulary is also included: color, program, vacation (instead of holiday).
Two Paper Sizes:
♦ A4 size
♦ Letter size
Easy-to-follow instructions are included. Each star requires two pieces of paper (front and back template). Approximate size: 18cm in diameter.
Great as a classroom activity or set it as a homework project during the first 1-2 weeks of school.
**********************************************************************
© Suzanne Welch Teaching Resources

CHRISTMAS STAR – Write a Christmas Wish
A fun Christmas activity that you can display in the classroom and then take home to hang on the Christmas tree.
2 Design Options:
♦ lift the flaps to reveal a Christmas picture and write a Christmas wish on the back of the star.
♦ lift the flaps to reveal a Christmas wish and have the picture on the back of the star.
Included:
♦ Star templates – 30 different picture options.
♦ Instructions – construction, colouring, writing.
♦ Blank template to draw your own picture.
2 Paper Sizes:
There are 2 files included in this resource to suit many classrooms around the world.
♦ A4 paper size.
♦ Letter paper size.
Suitable for:
I believe this activity is suitable for approximately 8 years and over. Some precision with cutting and gluing is required.
2 pieces of paper are used to make each star (front and back). There are 30 different pictures included for the ‘back’ star template which allows plenty of choice for you and your students. Pictures from 5 different clip artists have been used so there is some variation in the style of pictures.
**********************************************************************
© Suzanne Welch Teaching Resources

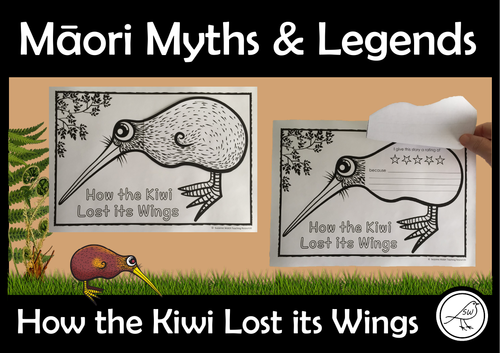
Māori Myths and Legends - How the Kiwi Lost its Wings
This is a fun activity for your students that you can use after reading the story: How the Kiwi Lost its Wings.
This activity is suitable for any retelling of the story.
Colour the kiwi, write/draw in the body templates and staple them together. Lift the flap to view.
Activities:
♦ Give the story a rating out of 5 (colour the stars) and give a reason.
♦ This story is about … (write on the lines).
♦ Facts about kiwis (write on the lines).
♦ Cinquain Poem (write on the lines, example included).
♦ Acrostic Poem (KIWI)
♦ Blank body template – make up your own activity.
You can use as many of the activities as you wish (this will determine the number of ‘flaps’). The only activity that is not optional is the story rating because that is on the kiwi’s body.
Two Options:
♦ Kiwi – cut the bird out and staple the flaps to it.
♦ Kiwi on page with border, tree branches and the story title. The kiwi is not cut out. Staple the flaps to it.
Alternative - Plain Kiwi Template:
This kiwi template is also available without the activities for the story (available for purchase in my store: 'New Zealand Kiwi Craft - Flip Flap')
**********************************************************************
© Suzanne Welch Teaching Resources

Poppy Art – ANZAC Day, Remembrance Day, Memorial Day, Armistice Day, etc (Design A)
A super-fun art project for your students when celebrating special days such as:
♦ ANZAC Day
♦ Remembrance Day
♦ Memorial Day
♦ Armistice Day
This project involves your students ruling straight lines between 2 dots on a template, to create poppy inspired art work. This is Design A (wreath).
Included:
♦ Template
♦ Example – black/white and colour
♦ Instructions
Level of Difficulty:
Your students need to be able to use a ruler to draw straight lines between 2 points (even the curves are made with straight lines … it’s like magic!). The designs look more complicated than they actually are. Concentration is required, but the actual process is not difficult.
Instructions:
Simple, clear, easy-to-follow instructions are provided. One instruction per page (image and a sentence). Display the instructions via a data projector if you have access to one. Otherwise print and enlarge them and/or demonstrate on an enlarged template.
Equipment Needed:
You need a ruler and a pen (black works best). Something to colour with (eg coloured pencils, watercolours, felt tip markers, chalk pastels, dye, etc)
Size:
The artwork measures approximately 17cm x 17cm. Designed on A4 size paper.
These designs are also available (in my store):
* Design B - cross
* Design C - medal
* Design D - poppy
Keywords: string art, parabolic curves, math, geometry, patterns, war, symbolism, veteran
© Suzanne Welch Teaching Resources

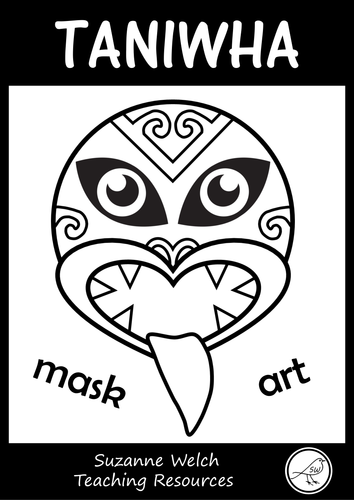
Taniwha - mask, art, wall display
This resource contains black/white and coloured taniwha heads that can be used in a number of ways. For example: masks for drama, art projects and wall displays.
A handy resource when studying Māori myths and legends.
Included:
♦ black/white taniwha for students to colour and personalise. A variety of templates are included (same design but certain features are included/excluded).
♦ coloured taniwha heads x10
♦ coloured taniwha heads and upper body x10
Designed on A4 size paper.
**********************************************************************
© Suzanne Welch Teaching Resources

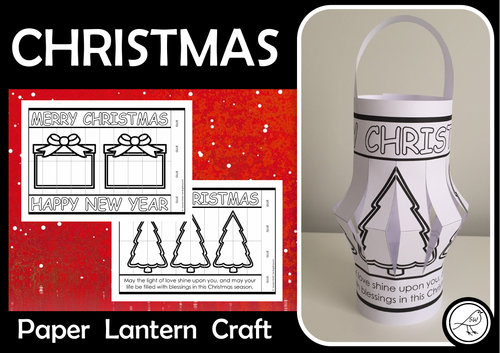
Christmas Paper Lantern Craft
Celebrate the Christmas Season with these paper lanterns.
Lots of different options to choose from.
A ‘Happy Holidays’ template is also included for your students who don’t celebrate Christmas.
Bonus Inclusion:
Six templates for New Zealand classrooms. The words are written in Te Reo Māori:
♦ Meri Kirihimete (Merry Christmas)
♦ Ngā mihi o te Tau Hou (Happy New Year)
Designed on A4 size paper.
Information and easy-to-follow instructions are included.
Idea:
There are 2 gift boxes on the ‘gift’ template. Your students could draw pictures inside the boxes. One box could have something they’d like to receive, and the other box could have something they’d like to give.
Happy Holidays!
**********************************************************************
© Suzanne Welch Teaching Resources

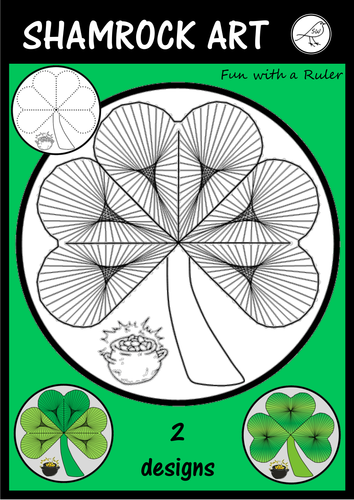
St Patrick's Day Art - Shamrock
A ‘Fun with a Ruler’ art project for your students to complete on St Patrick’s Day. There are 2 different templates to choose from.
This project involves your students ruling straight lines between 2 dots on a template. When they have finished drawing all of the lines they can give their artwork some colour.
There is space at the bottom of each template for a writing task that you may wish to set (eg ‘If I found a pot of gold I would …’). If you don’t want this, simply cut the artwork out when finished.
Included:
♦ Shamrock with pot of gold.
♦ Shamrock without pot of gold.
♦ Shamrock – draw your own stem, without pot of gold.
♦ Practise template.
♦ Example of the completed design.
♦ Instructions.
The templates are provided in both black and light grey dots.
Level of Difficulty:
Your students need to be able to use a ruler to draw straight lines between 2 points. The designs can look more complicated than they actually are. Concentration is required, but the actual process is not difficult.
Instructions:
Simple, clear, easy-to-follow instructions are provided. One instruction per page (image and a sentence). Display the instructions via a data projector if you have access to one. Otherwise print and enlarge them and/or demonstrate on an enlarged template.
Practise Tempate:
A practise template is included for your students to practise ruling the pattern before you give them the actual template.
Equipment:
You need a ruler and a pen (black or green works best for this project). Something to colour with (eg coloured pencils, watercolours, felt tip markers, chalk pastels, dye, etc)
Keywords: string art, math, geometry, patterns, Ireland, Irish, luck.
© Suzanne Welch Teaching Resources

